So, as promised, today I am sharing with you the tutorial for drawstring bag with handle. Like these ones I made :
The requirements and measurements:
Piece
Number & Description
Small
Size bag (Snack / DSLR Camera)
Medium
Size bag (Lunch Bag)
1
– Lining
10”
x 10” (1 piece)
13”
x 29” (1 piece)
2
– Batting
10”
x 16” (1 piece)
13”
x 29” (1 piece)
3
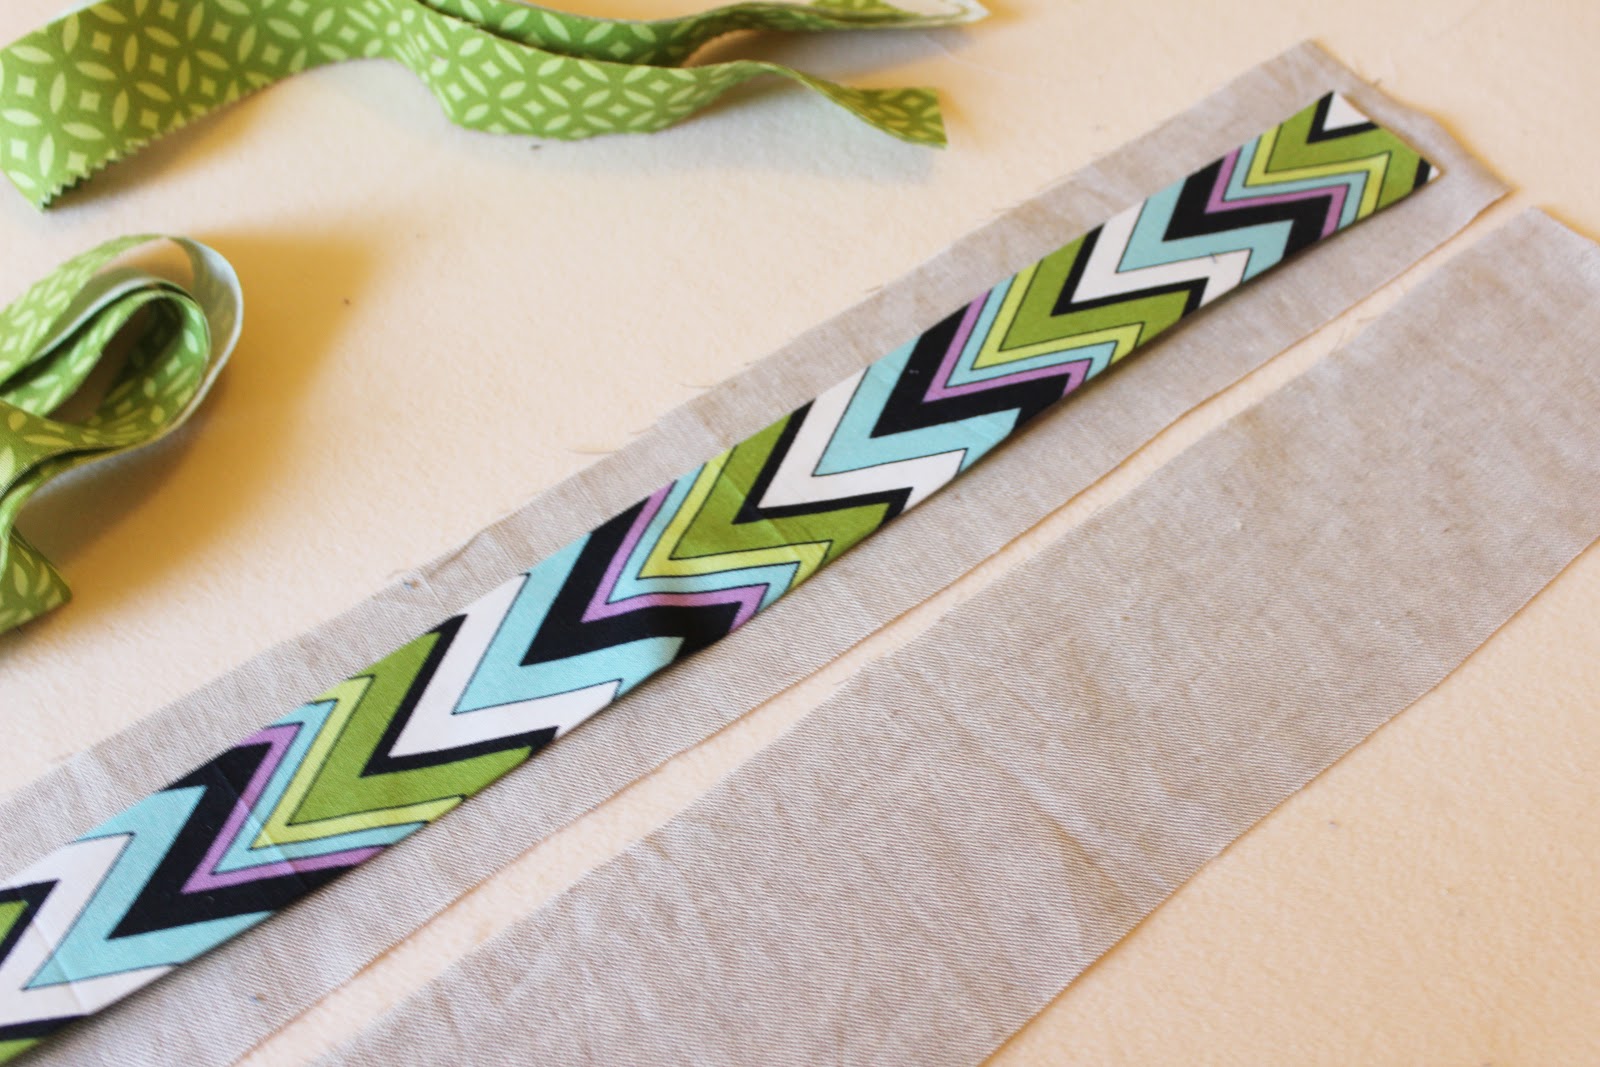
– Drawstring tube
10”
x 2.5” (2 pieces)
13”
x 2.5” (2 pieces)
4
– Upper body
10”
x 2.5” (2 pieces)
Scrappy
or plain (13”x 8.5”)
(2
pieces)
5 – Upper body
10” x 2.5” (2 pieces)
6
– Lower Body and Base
13”
x 10” (1 piece)
13”x13”
(1 piece)
7
– Handle
15”
x 2.5” (2 pieces)
16”
x 2.5” (2 pieces)
8
– Handle Deco
15”
x 2.5” (1 piece)
16”
x 2.5” (1 piece)
9
- Drawstring tie
22”
x 1.25” (2 pieces)
28”
x 1.25” (2 pieces)
(make a scrappy top by piecing it first up to the size needed)
Step 1 :: Place the Lower Body and Base piece on the middle of the batting and quilt straight lines about 1.5" apart.
Step 2 :: Place the Upper Body pieces on each side of the quilted pieces right side facing each other. Stitch them down as per yellow line. Seams are 0.5". Press and repeat with the second Upper Body Piece. Trim.
Step 3 :: Sew the side edges of the Drawstring Tube piece (fold about a 1/4" from the side twice), as so that the edges are closed.
Step 4 :: Sew the drawstring tube piece to the outer pieced of the bag. One on each side. Top stitch the seams down to the body piece.
Step 5 :: Now make the handle. Sew on the Handle Deco to one of the Handle piece by folding in the edge and topstitching. Sew the handle right side facing to form a tube. Turn the tube right side out.
Step 6 :: Place the handle in between the outer bag piece and the lining making sure it lies in the middle. Do this on both sides.
(you would end up with something like this at this moment)
Step 7 :: Align your piece like below, and sew as per yellow line shown.
Step 8 :: Make a boxy base by sewing all four corners like below. Measure about 2.5" from the corner, pin and draw a line if you want.
Step 9 : Turn the the bag inside out and pin down on the ditch below the drawstring tube. The pin should align about 1/4" on the lining from the inside. Stitch in the ditch.
Step 10 :: Topstitch the opening of the gap in the lining where you used it to turn the bag just now.
Step 11 :: Sew the drawstring tie by folding the edges in and topstitching
Step 12 :: Place a safety pin at one end of the drawstring tie and slide in through one side of the bag till the tie comes out at the same end. Do the same for the other tie with the other side end.
Knot both end of the drawstring tie together and Ta daa... You're done!
ENJOY!!
Tips : I use walking foot all the way from the beginning to the end, however, you still can sew this without a walking foot - just pull a bit when sewing on thicker parts to avoid puckering.
I tried my best to explain it here, but if you have any question at all, please do not hesitate to contact me @ littlemushroomcap{@}gmail{.}com. Also please do comment if you find any faults or errors in my tutorial. That will sure help me edit it and help others.
Feel free to make them for small sales, and I do appreciate a link back to this tutorial if you want blog about it. Thanks. Please respect others time and hard work in making tutorials.