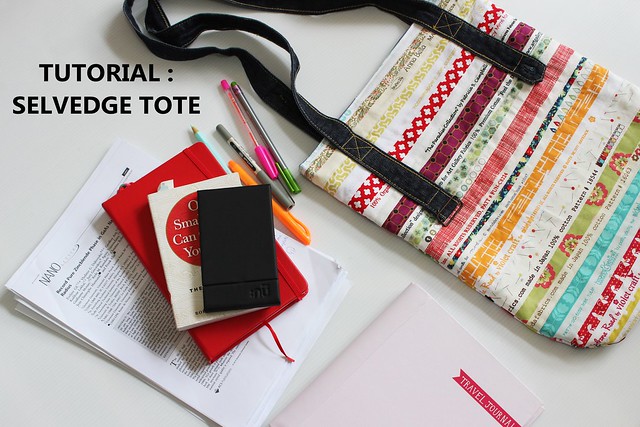
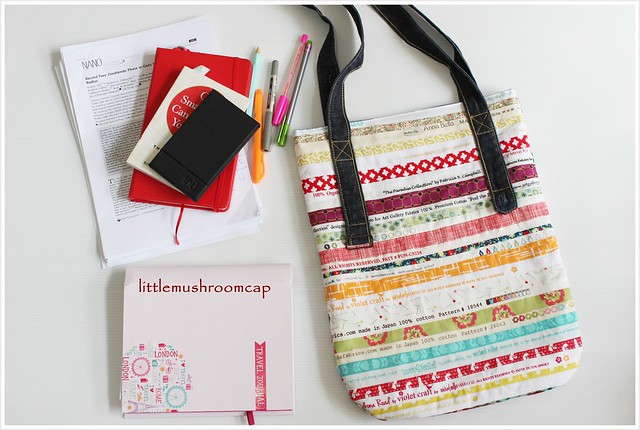
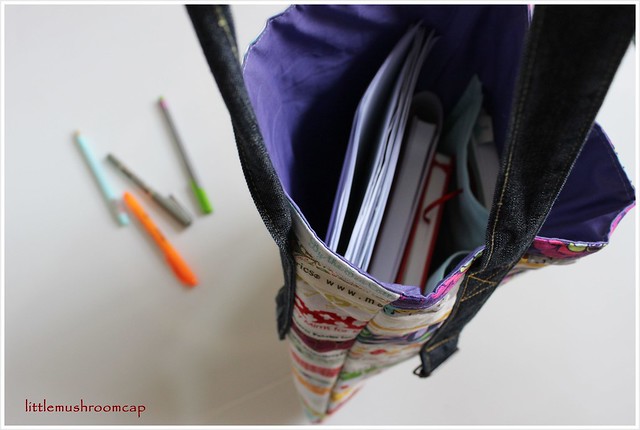
Today I would love to share you a tutorial on how to make a simple tote. A tote with an exterior made of selvedges. Throwing out bits of fabrics has always been hard for me. Even the littlest or the tiniest let alone the selvedges, long strips of fun text with a bit of the fabric itself. Some have really cute colour codes which make it even harder to throw out. So I decided to keep them, hoping some day I will get to use them in a string quilt like this,this or this.
But in the meantime, I just like to see them used in a simple quick project. So I made a tote out of some of them.
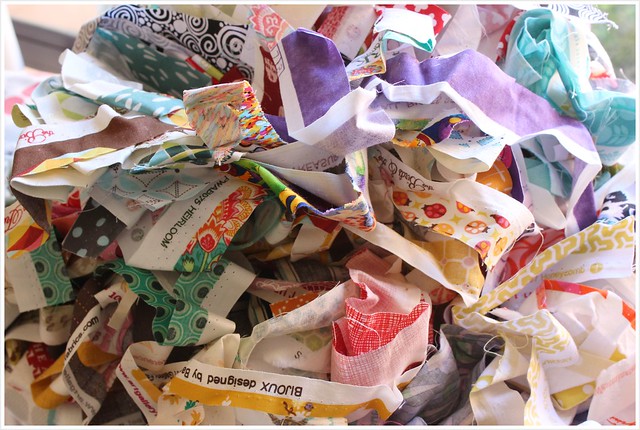
I have them in different sizes, mainly because they are left overs and sometime I need to use the fabric as much as near the edge but I still keep the selvedge because of the texts.
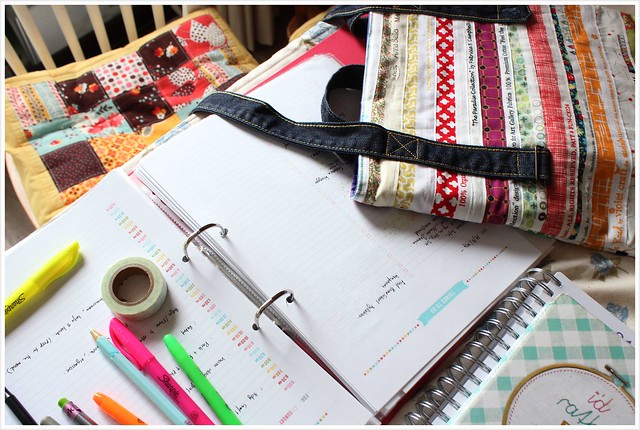
Here is the tutorial for the selvedge tote, so you can go make one too!
You can make any size you want, but here I will give out the size I use for mine.
Requirements:
A pile of selvedges. It will be easier to have long ones, longer than the width of the tote. Otherwise, you may patch them beforehand
quilt batting, slightly larger than the size of your tote (I use 2 pieces of 15 x 18")
half yard of lining fabric
a fat quarter for the interior pocket
a pair of straps, (I use an old overall straps for mine)
you can also make one using 4 strips of 2 x 40" fabric - place two strip right sides together, sew all around leaving a 3" gap for turning right side, Turn right side out, press and top sticth all around the sides. Make a pair.
For the tote:
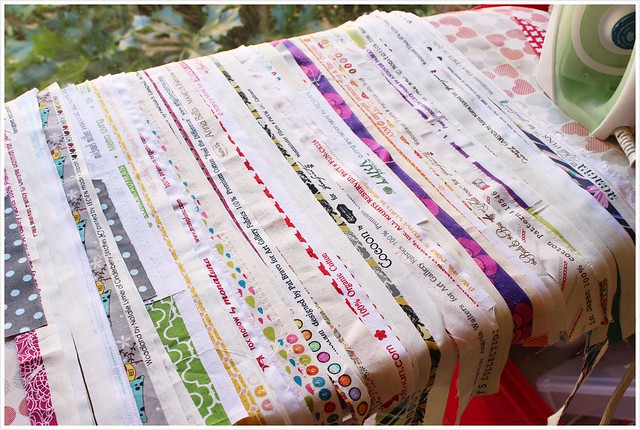
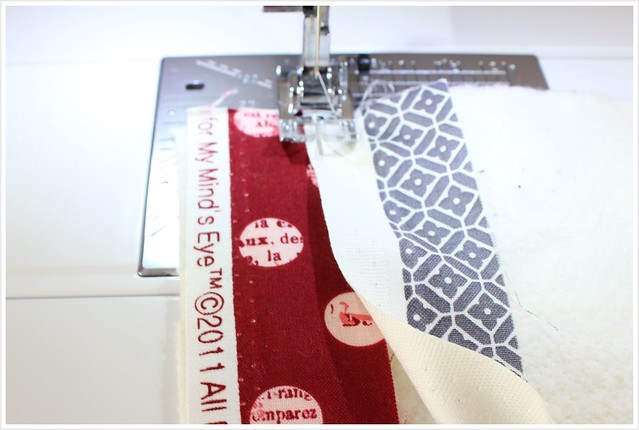
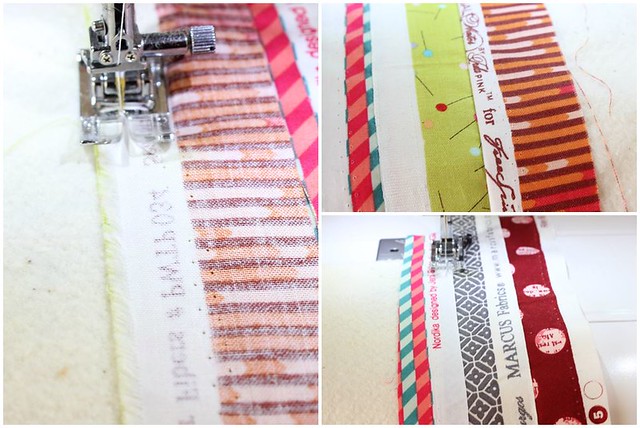
First, you will need to piece and quilt as you go the exterior pieces. Sew the selvedges onto the batting covering the raw edges with the neighboring non-fraying edge.
If the selvedge finish edge is one of those fray finish, you may put the selvedge right side together and sew rough edges together and flip open.
Continue until the batting is filled. Do the same for the other piece.
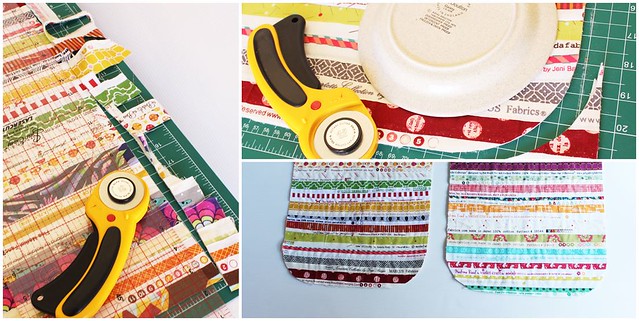
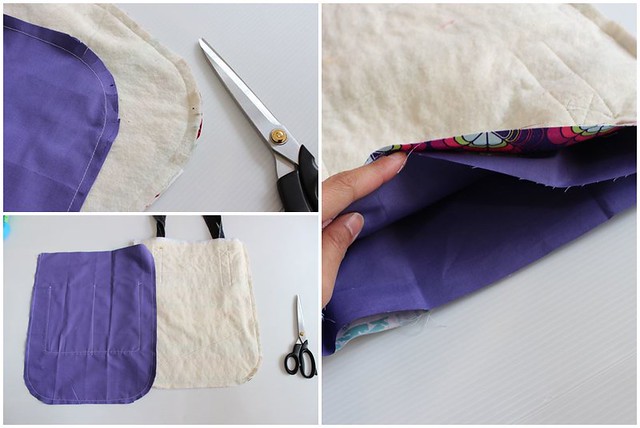
Trim the piece to size, 14" x17" with a curvy bottom corners.
Cut the same 2 piece for the lining from the lining fabrics
Remove about a 1/4" of batting from the top side of the piece. I like to do this to avoid bulk later on when sewing the top side.
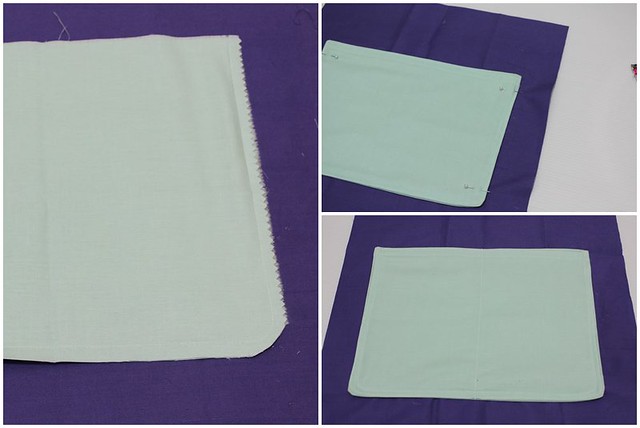
Cut out 15 x 10" out of the pocket fabric. Fold in half with right sides facing, so that it now measures 7.5 x 10". Sew all the way around and leave a small opening for turning right side out. Press and top stitch the edges.
Place onto one of the lining piece. Center it out. I put mine about 7" away the top edge. Sew onto the lining piece on the 3 sides leaving the top side open so that this will become the pocket. You can also stitch the middle down, so that you can have two smaller pocket instead
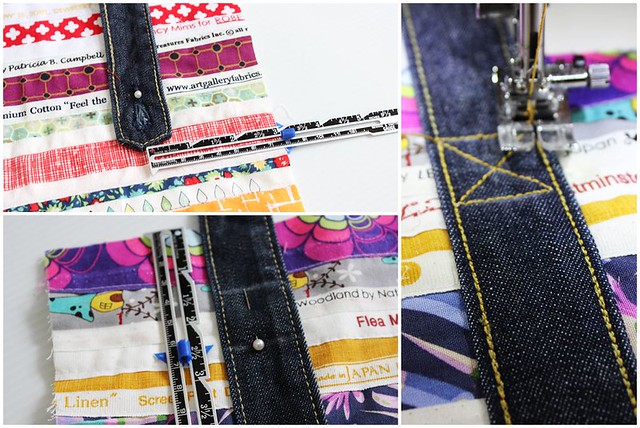
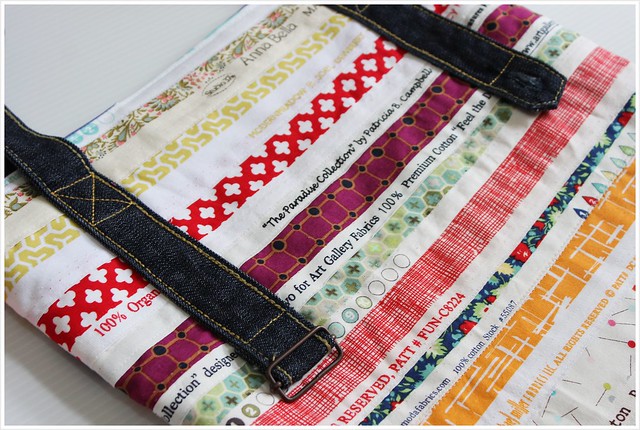
Place the strap 3" away from the sides, and the end of the strap should be 7" from the top. Mark a line 1 1/2" and 2 1/2" away from the top. This is where I make the square with an X.
Pin and sew the strap onto the exterior piece.
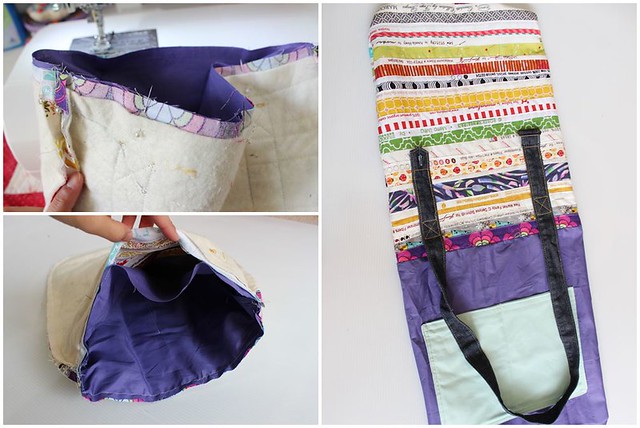
Place the two lining piece right side together and sew the sides and the bottom leaving the top side open. Turn right side out. Clip the corners carefully not to snip the stitches
Place the exterior piece right sides together and sew the sides and the base leaving the top side open.
Now place the lining piece inside the exterior piece right sides together. make sure the straps is put inside too.
Pin and sew the top edge, leaving a gap for turning right side out.
Turn right side out. Press well and top stitch the top seam, closing the gap as you go. Press well.